

If you searched “plastic casting,” you’re probably trying to figure out how to get a plastic part made. Plastic casting and injection molding are the two most common ways to produce small quantities of plastic parts, but they work very differently and suit different stages of product development.
This guide explains what each process actually is, walks you through how prototype production works from your first file submission to delivery, and helps you figure out which option makes sense for where you are right now.
Plastic Casting and Injection Molding: What You Need to Know
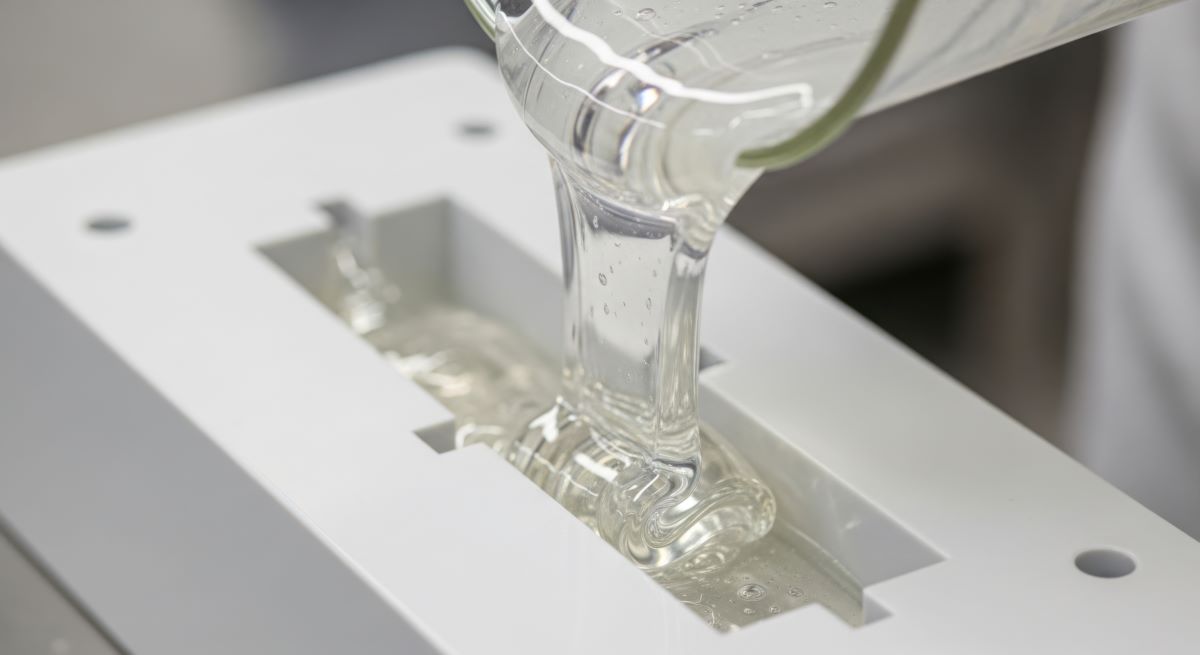
Plastic casting (polyurethane casting) works by pouring a liquid material into a silicone mold built from a 3D-printed master pattern. The result is a physical plastic part that looks and feels close to a final product. It’s a fast, low-cost option for early-stage prototypes when you need a small number of parts quickly, and the design may still change.
Injection molding works differently. A machined metal tool is built first, then molten plastic is injected into it under pressure to produce parts. The tooling costs more upfront, but the parts that come out are made from the same materials used in final production. That means the data you get from testing is more useful. So, injection molding is the right choice when you need real functional data, consistent quality, or you’re preparing for production.
How the Prototyping Process Works
Whether you go with plastic casting or injection molding, the process of getting a prototype made follows the same basic path. Here’s what to expect from the moment you have a design to when parts arrive at your door.
Step 1: Submit Your File
You start by uploading a 3D CAD file (e.g., STEP or IGES format) to your prototype manufacturer. This file becomes the foundation for everything that follows. If you don’t have a CAD file yet, Protoshop can help you understand what you need before moving forward.
Step 2: Design Review
Once your file is in, an engineer reviews it for manufacturability. This step catches problems before they become costly. You’ll get clear feedback you can act on before any tooling is built or material is spent.
Step 3: Process Selection
The team will recommend whether plastic casting or injection molding is the right fit based on your design, your quantity, and your timeline. The right process depends on your goals, and getting that call right early saves time and money later.
Step 4: Production
Once the process is confirmed and the mold or tool is built, parts go into fabrication. Casting parts can be ready in days. Injection-molded parts typically take about a week from tool completion. Either way, you’ll know the timeline before production begins so there are no surprises.
Step 5: Delivery
Finished parts are inspected and shipped to you. Depending on the process and part complexity, secondary finishing can be completed before delivery. When your parts arrive, they’re ready for evaluation, testing, or stakeholder review.
Which Process Is Right for You?
Most projects don’t require a complicated decision. They just need the right process for where they are. Here’s a simple breakdown:
- Cast when you need parts fast.
- Cast when the volume is under 25.
- Cast when you’re checking fit, form, and appearance.
Switch to injection molding when any of these are true:
- You need 25 parts or more.
- Data must transfer to production without errors.
- Production resins are filled and flame-rated.
- Designs include overmolding or threaded inserts.
- Parts need tight tolerance and critical surface interfacing.
Injection molding is also the preferred choice when you’re headed into a regulatory environment where submission precision is paramount. Consult Protoshop experts for more information, and remember: the earlier the switch, the less it costs.
Below is a table comparing plastic prototype injection molding to plastic casting:
| Category | Quick-Turn Aluminum Tool Injection Molding | Plastic Casting |
| Cost Considerations – Initial Investment | Moderate upfront cost. Aluminum prototype molds are significantly less expensive than production tooling and can often be produced quickly. Best suited for prototypes, pilot builds, and low-to-medium volume production. | Lower initial tooling cost because silicone or soft molds are inexpensive and fast to create. Best suited for prototypes and very low-volume production. |
| Cost Considerations – Per-Unit Cost | Lower per-unit cost than casting once production quantities increase due to faster cycle times and repeatable processes. Material waste is typically low. | Lower cost for very small quantities, but per-unit costs increase with volume due to manual labor, longer cure times, and limited mold life. |
| Production Speed | Faster than traditional tooling approaches. Aluminum molds can often be produced in days to weeks, and parts can be molded rapidly once the tool is complete. Suitable for producing hundreds to thousands of parts. | Faster initial setup but slower part production due to manual mixing, pouring, curing, and demolding. Practical for small batches but not high-volume production. |
| Design Flexibility | Supports production-like designs, including complex geometries, ribs, bosses, snaps, and thin walls. Some limitations remain due to injection molding requirements such as draft angles and parting lines. | Highly flexible for prototypes and complex shapes, including undercuts and features that may require additional tooling considerations in injection molding. Easier to make design changes between builds. |
| Material Properties | Uses production-grade thermoplastics, allowing prototypes to closely match final product materials. Available properties include strength, flexibility, chemical resistance, temperature resistance, and transparency. | Uses castable resins and urethanes that can simulate a range of plastics, including rigid, flexible, rubber-like, and clear materials. Material properties may differ from injection-molded production plastics. |
| Quality and Precision | High precision and repeatability. Produces parts with production-like surface finishes, consistent dimensions, and tighter tolerances than most casting methods. | Good surface finish and appearance quality, but dimensional accuracy and repeatability are typically lower due to mold flexibility, shrinkage, and manual processes. |
| Environmental Impact | Generates limited waste and uses recyclable thermoplastics in many cases. Aluminum tooling requires energy to manufacture but can support many parts before replacement. | Lower energy requirements for tooling and small batches. May generate more waste from unused resin, support structures, and limited recyclability of many casting materials. |
Prototype with Protoshop
The Protoshop team has designed and fabricated thousands of prototype molds, and we’ve seen firsthand what happens when teams stay in the wrong process for too long.
Every project starts with a moldability review, where we check geometry for draft angles, wall thickness, undercuts, and features likely to cause sink or warp. If our experts find anything, they’ll tell you before it costs anything.
Have a part ready? Upload your STEP or IGES file for an assessment and quote. Still figuring things out? Contact us today, and we’ll help you work through it.
